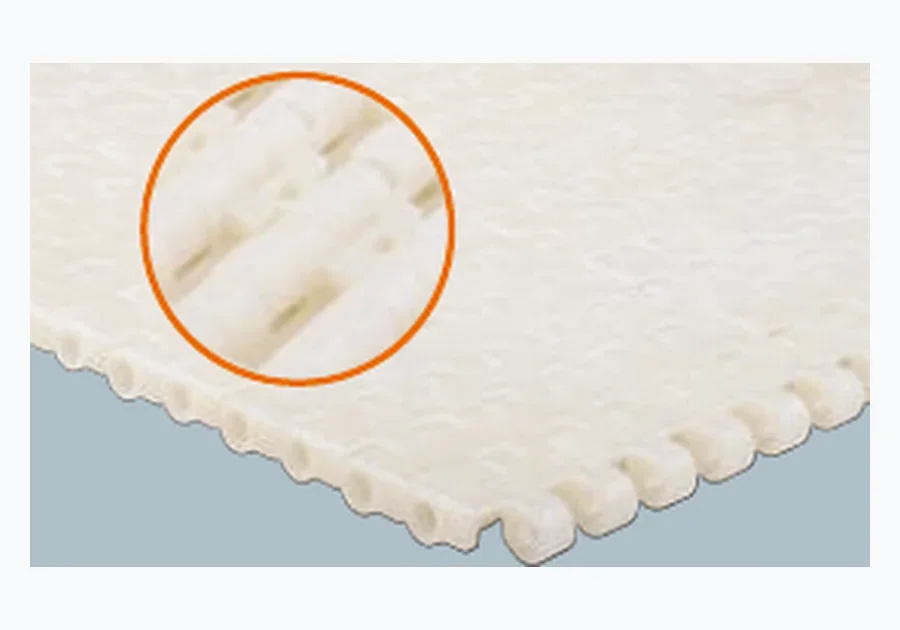
Flat Surface Plastic Modular Belts
Use this family as a selection direction, then confirm the actual pitch, face, width and conveyor interface.
Packaging and tote conveyors sit between machines, scanners, diverters and manual workstations. Stable tracking, predictable transfers and service access usually matter more than drainage, so the belt should be selected as part of the automation interface.
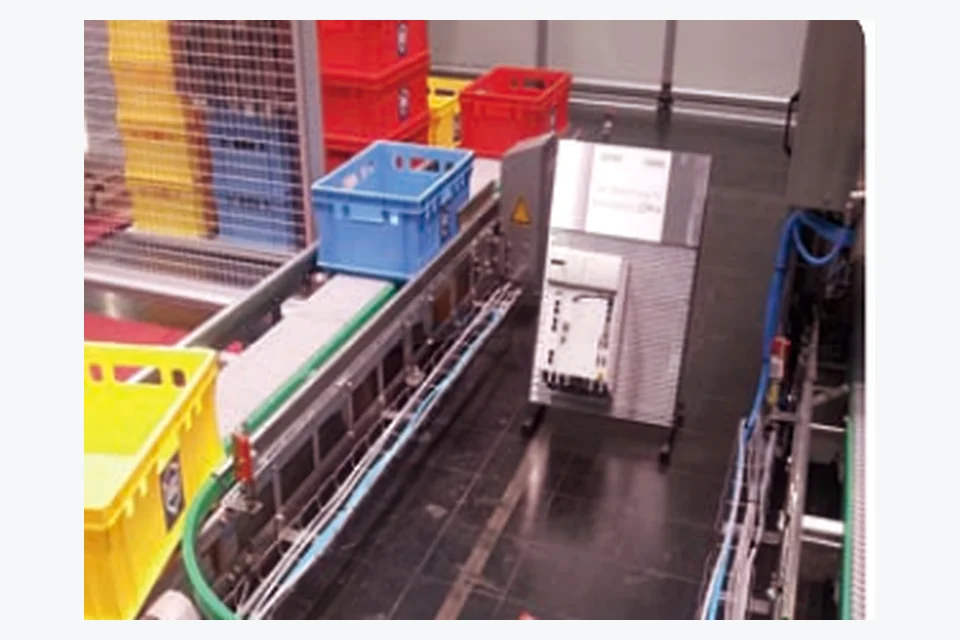
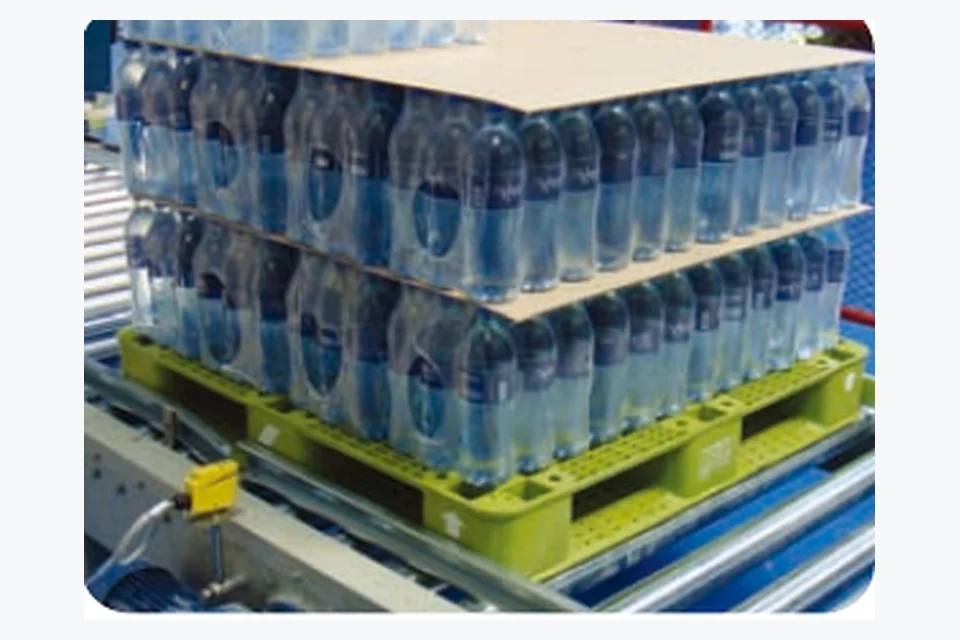
Record the smallest carton or tote, maximum load, whether products accumulate, and where sensors or stops contact the product. Also note any lane merge, incline or horizontal curve. These details explain why a belt that works well in one packaging cell may not be appropriate for another.
For Modular Belts for Packaging, Cartons & Totes, the conveyor should be described as a specific process position rather than only by a belt name. That gives a new-design or replacement RFQ enough context to distinguish support, opening, path and drive needs.
| Input | What to describe |
|---|---|
| Load unit | Carton, tote, tray, case or empty packaging |
| Footprint | Smallest base dimensions and stiffness |
| Automation | Sensors, stops, indexing, merge/divert points |
| Accumulation | Back pressure and contact duration |
| Transfer | Gap and height difference between machines |
| Path | Straight, incline or radius section |
Cartons can snag at transfers, lightweight packaging can become unstable at abrupt changes, and high-cycle tote systems can wear guides or support strips long before the belt face itself looks damaged.
For Modular Belts for Packaging, Cartons & Totes, solve product support, process opening, conveyor path and drive compatibility first. Material and project documentation can then be confirmed for the selected configuration.
Closed faces are a useful baseline for stable packages. Specialty surfaces may help where the conveyor needs additional product control. Curves should be treated as radius systems, while inclines should be reviewed from the product stability and attachment/flight requirement rather than from pitch alone.
Fine pitch is often worth comparing near small cartons, sensors and close transfers. Larger pitches can work well on long transfers when the footprint is generous and the machine interface allows it.
Open area is usually secondary in dry packaging, but it can still matter for debris release, washdown or weight. Do not sacrifice base support merely to reduce belt surface area.
For packaging curves, include guide spacing, inside radius, product footprint and whether accumulation continues through the curve.
| Curve input | Why it matters |
|---|---|
| Belt width | Radius capability is related to the selected family and width |
| Inside radius | Defines the turn requirement |
| Curve angle | Sets total path through the guide system |
| Guide profile | Controls location and wear through the curve |
| Drive position | Changes how the belt enters/leaves the curve |
| Product footprint | Checks stability and support through the turn |
Use this family as a selection direction, then confirm the actual pitch, face, width and conveyor interface.
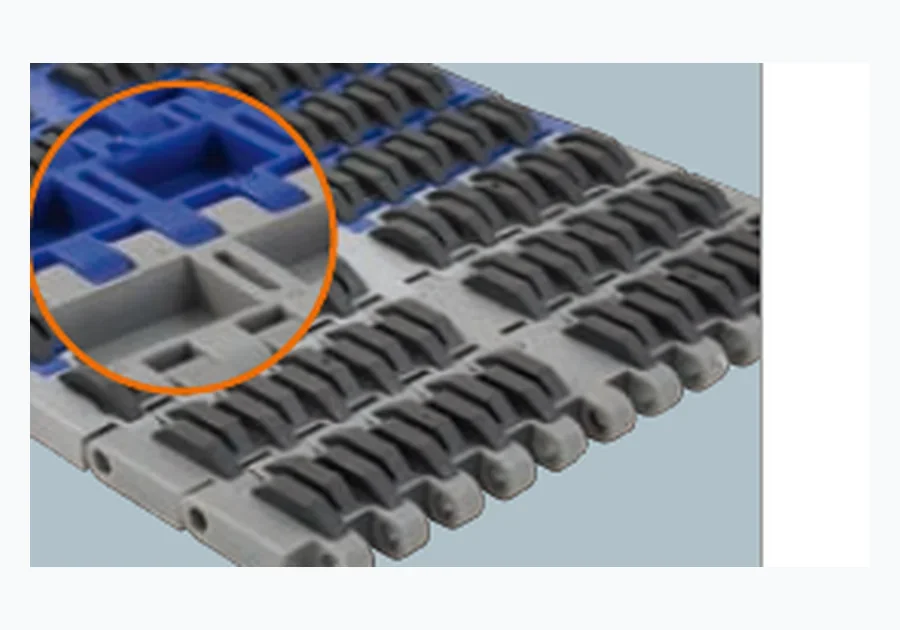
Use this family as a selection direction, then confirm the actual pitch, face, width and conveyor interface.

Use this family as a selection direction, then confirm the actual pitch, face, width and conveyor interface.
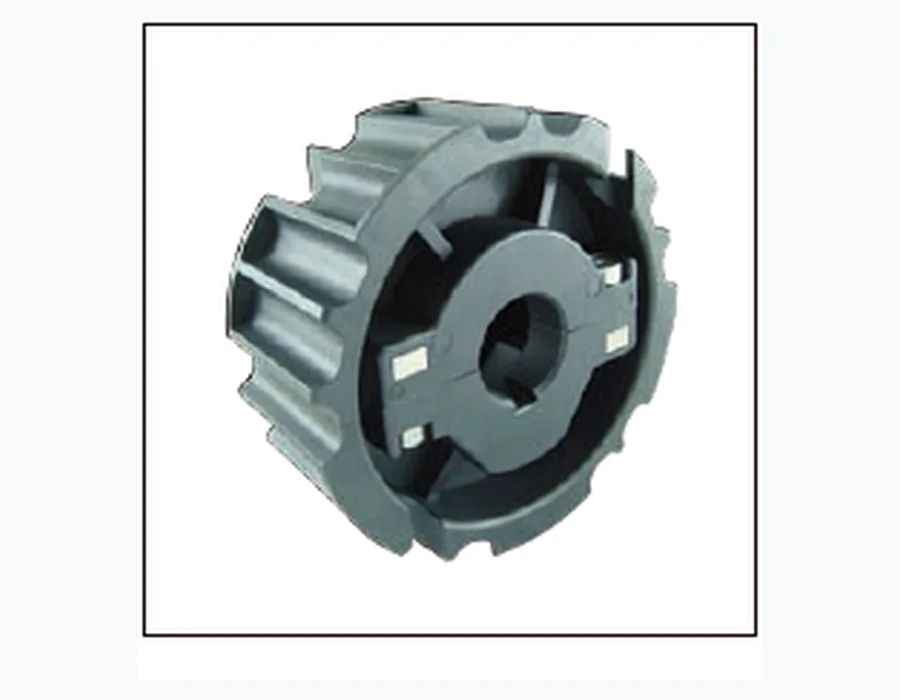
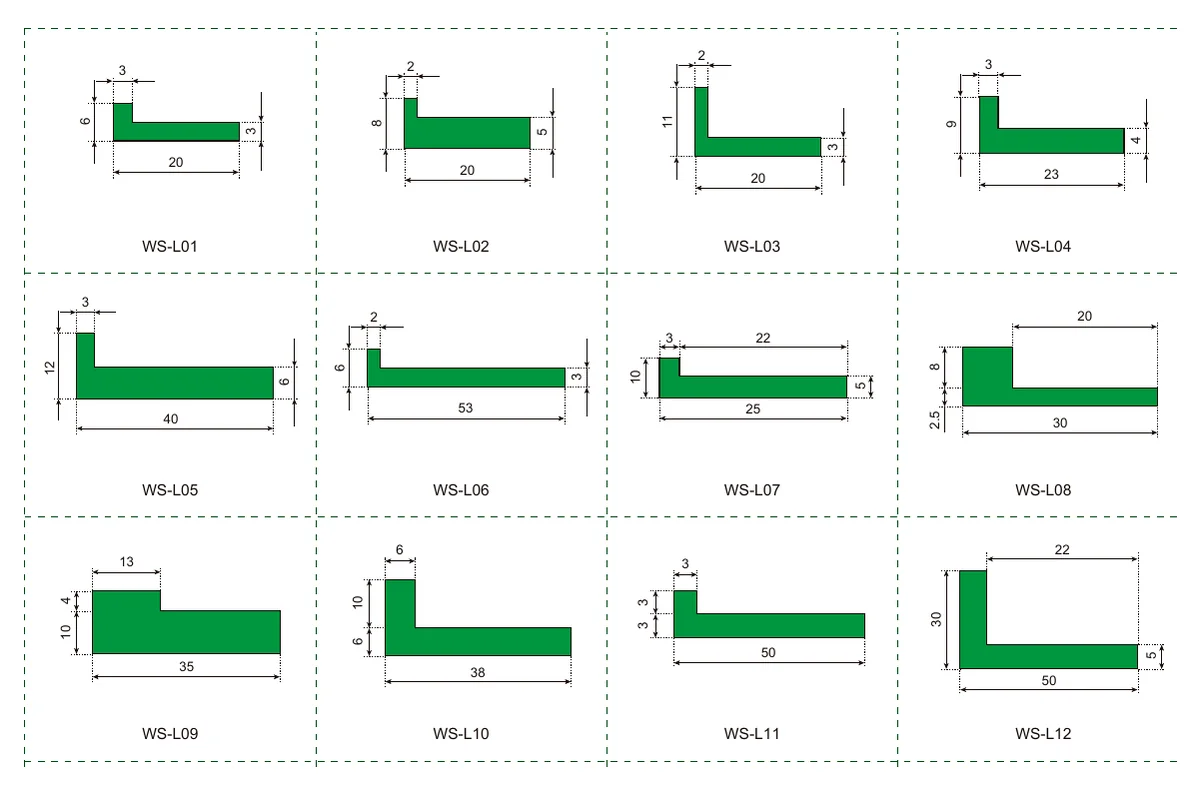
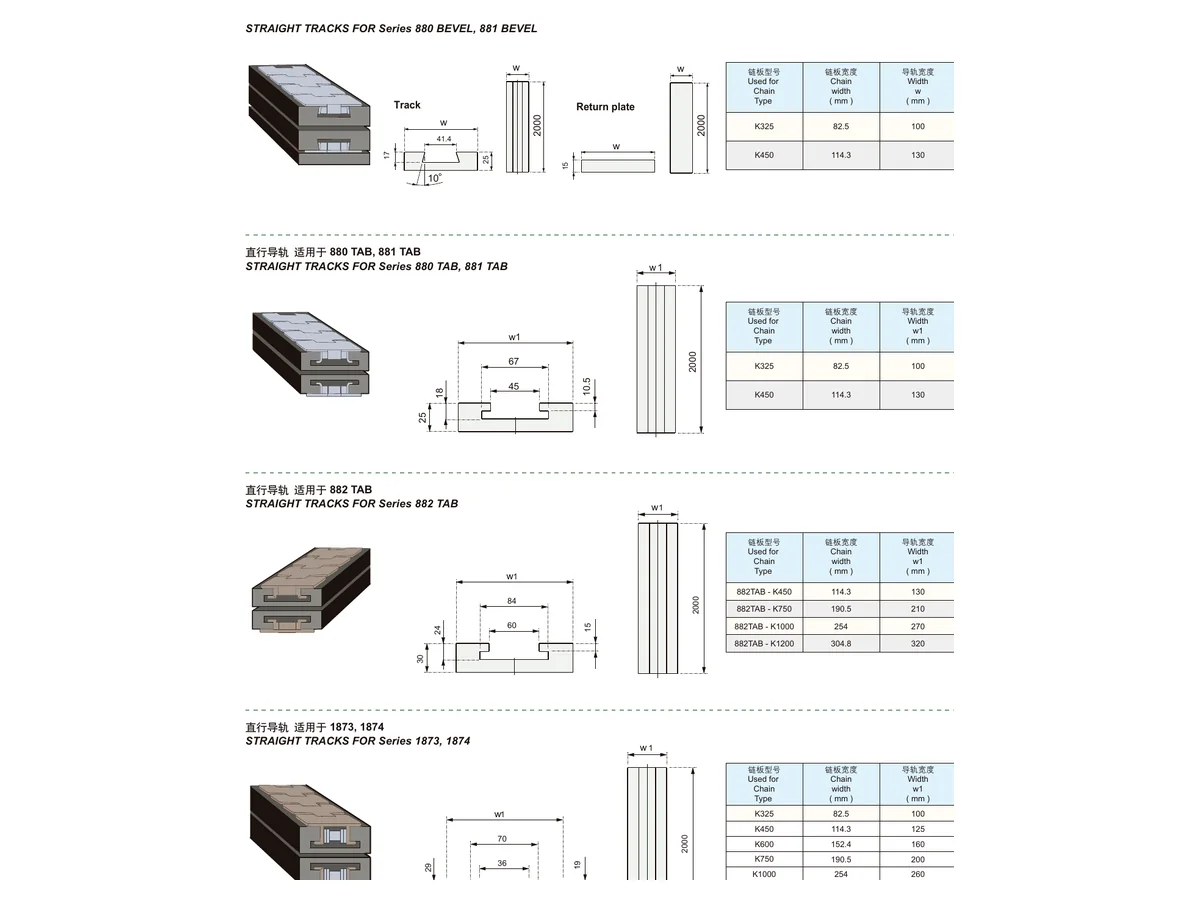
On a modular belts for packaging, cartons & totes conveyor, sprockets, pins, support strips and guide profiles belong in the review whenever they affect the process or refurbishment scope. Pitch is only one drive input; underside geometry and tooth engagement still have to match. Measure wear-strip and guide sections wherever they locate the belt or product.
Inspect transfer plates, guide rails, wear strips and sprocket engagement at the same time. Many packaging-line issues occur at interfaces, so replacing the belt without checking the surrounding hardware can leave the original problem unchanged.
For a new modular belts for packaging, cartons & totes installation, verify belt direction or orientation where applicable, sprocket position and engagement, guide clearance, return support and transfer alignment. For replacement work in this duty, compare the old wear pattern with the surrounding conveyor before assuming the belt itself caused the problem.
| Area | Send |
|---|---|
| Application | Process step and conveyed product |
| Belt geometry | Pitch if known, width, face/open area and overall length/centre distance |
| Conveyor path | Straight/curve, inside radius and transfer points |
| Drive | Sprocket photos/drawing, tooth count, shaft/bore and spacing |
| Duty | Load, speed, wet/dry condition, cleaning and relevant environment |
| Commercial | Quantity, destination, project stage and requested documentation |
Often as a starting point, provided the load, base and transfer geometry are appropriate.
Existing pitch and sprockets, belt width, transfer gap, sensor/guide layout and the smallest package footprint.
Width is configuration-dependent. Send the required width and any existing module/edge geometry so availability can be confirmed.
Send the information already available for the modular belts for packaging, cartons & totes section. A drawing is useful, but a clear photo set plus a few measured dimensions can also start the configuration review.