How to Select a Plastic Modular Belt
Start with the process, then narrow running path, product support, pitch, open area and drive interface. A disciplined sequence prevents a visually similar belt from being treated as a mechanical equivalent.
1. Define the conveyor duty
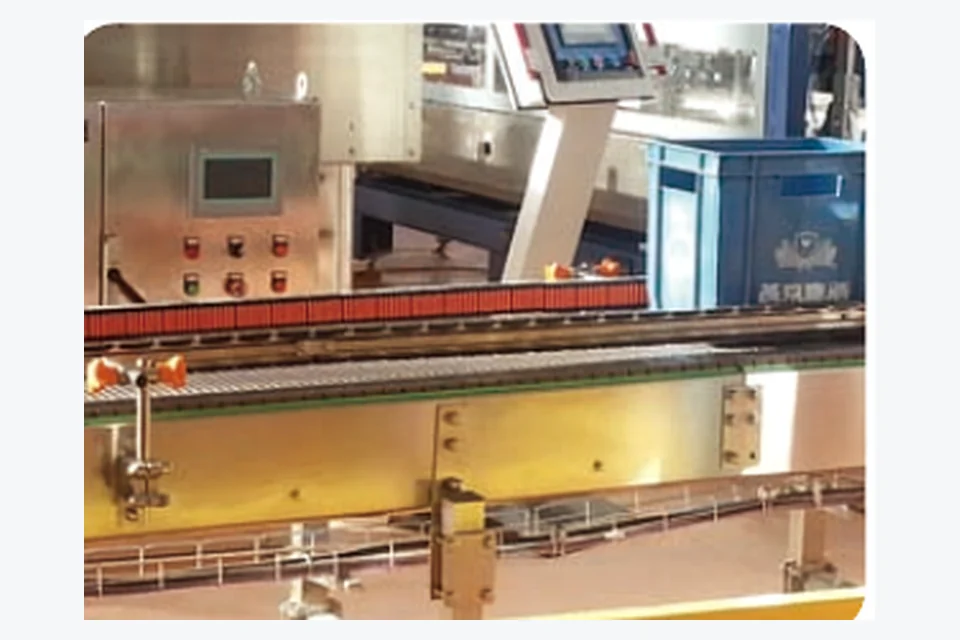
Start with the conveyed product and process step. A carton-transfer belt, a seafood dewatering belt and a curved cooling belt can all be “plastic modular belts”, but their selection variables are different. Record product size/footprint, whether the process is wet or dry, the transfer points and whether the belt itself follows a curve.
2. Decide straight or radius first
Running path is a high-level family decision. A straight-running belt is not automatically a substitute for a side-flexing belt of the same pitch. If the route turns horizontally, record belt width, inside radius, curve angle, guide arrangement and drive position before narrowing the face.
3. Choose product support and process opening
| Question | Selection direction |
|---|---|
| Does the smallest product need continuous support? | Start with flat/closed or a closer pattern |
| Must water or air pass through the belt? | Compare open-grid patterns and actual opening geometry |
| Does debris need to leave the process zone? | Open grid can be useful if product support remains adequate |
| Does the product bruise, mark or tip easily? | Prioritise support and transfer smoothness over maximum opening |
4. Use pitch as a family identifier
Pitch affects module scale, transfer behaviour and sprocket family. It does not define the belt by itself. Two products with the same nominal pitch can have different faces, hinge geometry, underside engagement or side-flexing behaviour. Measure across several repeating modules when working with a worn replacement.
5. Confirm the drive and support interface
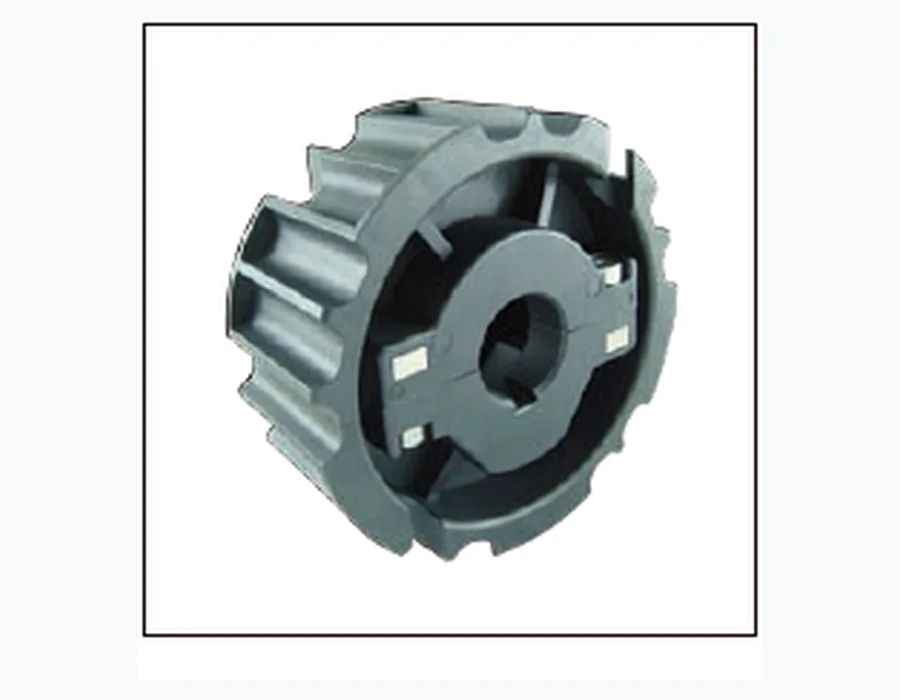
Photograph the underside while the sprocket is engaged. Record tooth count if possible, bore/shaft profile and sprocket spacing across the shaft. Also measure the wear-strip or guide profile if it supports or locates the belt. A belt-only comparison can miss the mechanical reason an old conveyor worked or failed.
6. Add duty and documentation
Once the geometry is narrowed, confirm load, speed, environment, cleaning and any required material or compliance documentation. Do not fill missing operating limits with generic catalogue values from another configuration.
Selection worksheet
| Step | Send |
|---|---|
| Application | Product, process step and smallest footprint |
| Path | Straight/curve, radius and transfers |
| Belt | Pitch, width, face/open area and hinge/pin |
| Drive | Sprocket, shaft/bore and spacing |
| Duty | Load, speed, wet/dry and cleaning/environment |
| Commercial | Quantity, destination and project stage |
Common selection mistakes to avoid
Do not begin with colour, a remembered brand code or one catalogue photograph. Those clues can be useful later, but they do not define the mechanical interface. Another common mistake is choosing the maximum open area before checking the smallest product footprint. A third is treating a curve as an ordinary straight belt path. A sound sequence is path, product support/process opening, pitch and width, then drive/support interface and duty documentation.
When several conveyor sections perform different jobs, specify each section separately. Washing, inspection, cooling and packing can legitimately use different surfaces on one production line.
Need help narrowing the configuration?
Send the information you already have. Missing fields can be identified during review rather than guessed.